This post is the full introduction that goes together with a new tutorial that I'm posting shortly after this. Initially, this intro was included in the tutorial, until I made it a bit too long by rambling on. I realize this is a long, and perhaps too long post, but it does contain some useful information for anybody who is contemplating building their own live-stream server. If you're not, you can save yourself some time by skipping this content entirely.

In case you, or your corporation, have any plans to start live-streaming, and you're targeting a large, wide-spread audience, with viewer numbers reaching into the thousands, then I have some advice for you. My advice is not to invest too much in building a live-streaming infrastructure for yourself, but instead to simply pay money to a provider who is specialized in delivering live-streaming services. These providers have the know-how, and a network infrastructure, often world-wide, with a CDN platform, for ultra-fast delivery, and plenty of processing power to handle all of your streams. Not to forget their easy-to-use tools they provide for their users. As a small company or an individual, you will never be able to build an infrastructure yourself that would come even close to the capabilities of such a service provider.
Using a service like this, will however, potentially, cost you a lot of money.
And I mean A LOT of money. No reasonable amount for an individual who wants to stream unlimited hours per month, or perhaps even 24/7, for a security cam for example. Using live-streamer service providers, is simply not an option for most individuals. Besides the high monthly fees, these providers will likely also charge you extra for every gigabyte or additional hour that isn't covered by your subscription, resulting in bills that will cost you several hundreds, if not more, each month.
This is not something individuals will soon consider, due to the high prices. So, what are the alternative options, then? Well, you could of course choose to use a popular, free service, like YouTube or Twitch. But what if your live-stream is absolutely not meant for the public eye? Or what if you've actually read through their terms & agreements and decide it doesn't match with your needs. What if your content is not even allowed on these platforms? I'm not sure how to answer all these questions, but what I can do, and will do, is to provide you with at least one alternative, to get you started. And that is to build your own live-stream server, by following this tutorial that I've put together. A YouTube video to accompany it is still in the making.
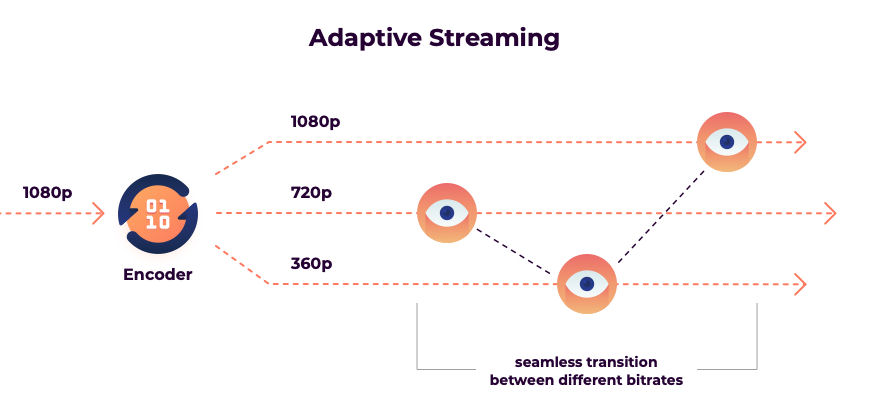
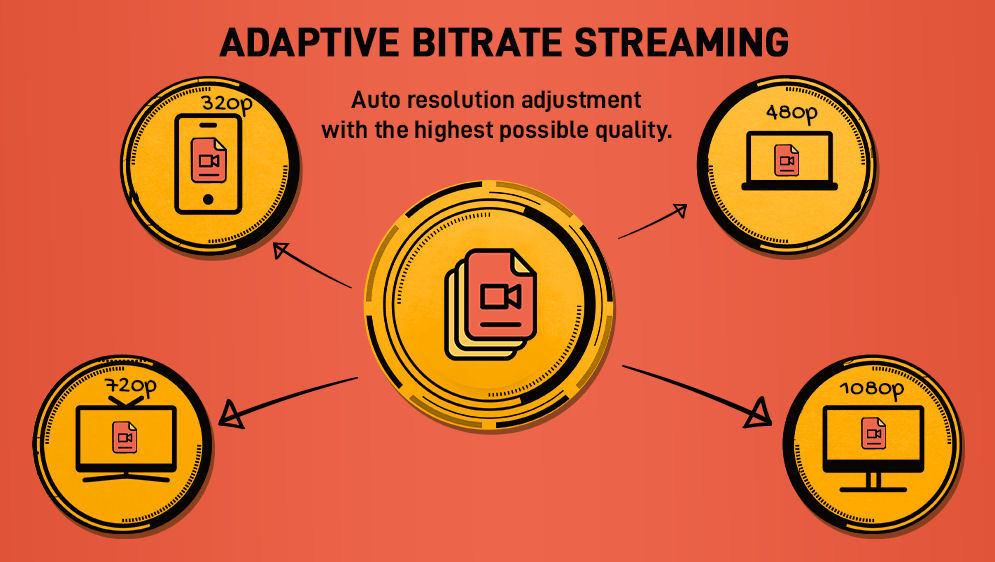
Before you begin to follow this tutorial, I want to talk a bit about Adaptive Bit Rate Streaming, and whether you will need it, or not. ABS, in short, is a technique, that will increase the amount of viewers that will be able to properly watch your live-stream. It accommodates viewers who are on a slower, or unstable internet connections, and your stream can be watched on any format of screen on pretty much any type of device. ABS is also responsible for delivering an uninterrupted video stream, even when you're on an over-crowded Wi-Fi network.
I'm sure that most of you will have experienced this moment where you are outrageously binging a Netflix series, when the video automatically switched to a lower resolution, and to have it switch back to HD a few moments later. Such an event is usually caused by some form of network hiccup, for example network congestion on your Wi-Fi because of too many users who are all watching separate online streams. The quality of the Netflix stream becomes noticeably worse for a few moments, but, it will however continue to play the video, without any interruption. This is one of those things that makes ABS so strong. Of course, anybody who is a live-streamer, will want their stream to be delivered in such a format. This does, however, come at a cost. And by that, I mean that it will cost processing power to create adaptive bit rate streams.
To have your live-stream to be converted to several adaptive streams, costs more processing power than you may think. In fact, it costs quite a lot of processing power! So, in order to build a live stream server that can handle the task of transcoding multiple adaptive video streams, you're going to need hardware that can process this, preferably without the CPU usage ever getting above 60%. You could decide to rent a VPS for such a purpose. But please be aware that any VPS server in the lower price ranges, will NOT be sufficient, trust me. These cheaper VPS' are often equipped with only 2 or 4, or tops 6 CPU cores, but more importantly, these CPUs are always shared with other VPS instances from other users, that are all running on the same physical hardware. Most providers will, for this reason, have some form of "fair use policy" agreed by their users. Meaning that when you start running some stuff on the VPS that will cost lots of processing power, with 70 to 90% CPU usage, your VPS provider will ask you politely, or else instruct you, to stop this process. Or they will simply shut down your VPS without giving any notice. With a VPS in the higher price ranges, with at least 8 to 12 or preferably more cores, this won't be such of an issue. But it is still something to keep an eye on.

When it comes to renting a server from a provider, a dedicated server would be your best option for a transcoding live-stream server. You won't be sharing any of the hardware, and the provider won't really care how much load you'll task your server with, since nobody else will be affected by this. A VPS or dedicated server, with a NVENC supporting GPU, would be an even better solution. Ideal even, since GPU's are much smarter, and better at transcoding video streams, and they can be utilized to do so, thus taking away all the stress from the CPU's. Obviously you will have to decide yourself how much processing power you need, and in what form, based on the requirements of your live-stream, and your budget of course. You will, regardless of your choice, be able to follow the tutorial to help you equip your server with all the necessities to start live-streaming.
But what if you don't want to pay a monthly fee, What if your fiber internet connection at home is fast enough to handle a bit of traffic? Or what if you have a spare desktop PC or laptop at home? One that isn't over eight years old, and ideally is equipped with an Nvidia GPU? (* see footnote) Well, in all of these cases, a good way to get your live-stream up and running, would be to follow my tutorial. Once your server is running, you can always do some testing to see if the server of your choice has what it takes, or not, to provide the adaptive streams. You could then always choose to disable adaptive bit rate stream creation, and use your server to create a HLS stream that will have the same properties as your source stream. Refer to the nginx.conf from the tutorial to accomplish this. In either case, with the support of my tutorial, we'll have your server up and streaming in 20 to 30 minutes.
(*) Yeah, this footnote. A GPU will have to support NVENC for it to be of any use for transcoding tasks.
I'm getting a bit ahead of myself talking about GPU encoding, because this tutorial doesn't even handle how to use a GPU for transcoding adaptive bit rate streams. This is however a topic that I'll go into in a future article, that's coming soon. So keep an eye out on that, if this interests you.
For now, we'll just stick to building a basic live-streaming server. In a nutshell, this comes down to setting up a RTMP listener using the Nginx RTMP module, to receive the source stream on. Alongside, we'll be having Ffmpeg handle the transcoding of the adaptive bit rate streams. Nginx will also be responsible for the creating of all the files that together make up the outgoing HLS stream. An important chapter in the tutorial will be the part where we obtain a valid certificate.
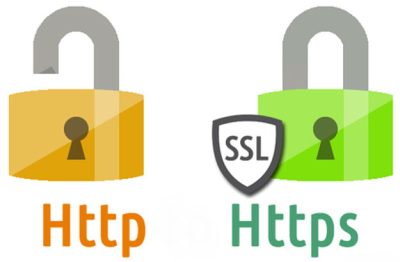
Nowadays, every self-respecting website is using certificates that allow them to run on HTTPS instead of HTTP. And so should you, since these certificates can be obtained completely for free from Letsencrypt. Using HTTPS will result in your live-stream being more compatible with the rest of the web. The reason behind this statement is that a website running on HTTPS (for example, a website that is going to play your live-stream), will probably not be able to play any content that is not running on HTTPS. Besides that, HTTPS is a lot faster than HTTP. So, you will definitely want to use HTTPS for hosting the video fragment files for your HLS stream, trust me.
In order to get a free certificate like how it's shown in the tutorial, you'll need a domain name. Either a free one, or one you already own. That is the only requirement you'll have to meet in order to follow the tutorial successfully from start to end. Using a server that's running on a clean installed Ubuntu 22.04 is strongly advised as well. If you have all of this covered, you are totally ready to start the tutorial!